Step-by-Step DIY Lean-To Shed Build: A Simple, Functional Storage Shed
This comprehensive guide details the construction of a simple yet robust lean-to shed, ideal for providing additional storage space. The instructions are designed for those with basic DIY skills and access to common tools. While prior experience is helpful, this project is achievable for determined novices. Safety precautions are paramount throughout the process; appropriate personal protective equipment (PPE) should be worn at all times.
Phase 1: Planning and Preparation
Before commencing construction, meticulous planning is essential to ensure a successful outcome. This phase involves several key steps, each contributing to the overall project's efficacy and safety.
Site Selection and Assessment
The first step involves selecting an appropriate location for your lean-to shed. Consider factors such as proximity to existing structures, accessibility for material delivery and future use, and the existing ground conditions. Ensure the chosen area is level and stable, with adequate drainage to prevent water accumulation around the foundation.
Thorough assessment of the site also requires considering potential obstructions such as underground utilities, tree roots, or large rocks. Contact your local utility companies to ascertain the location of underground services before excavation begins. This precautionary measure minimizes the risk of accidental damage during groundwork.
Material Acquisition and Preparation
Accurate material quantification is crucial to avoid unnecessary costs and delays. A detailed materials list, generated from the design plans (discussed in the following section), should be compiled before commencing purchasing. This list should include all necessary lumber (pressure-treated for longevity), roofing materials (e.g., asphalt shingles, metal sheeting), fasteners (nails, screws, bolts), and any additional components (e.g., doors, windows, hardware).
Prior to construction, it's recommended to pre-cut lumber to the specified dimensions outlined in your plans. This pre-emptive step significantly accelerates the construction process and ensures accuracy.
Design and Planning
The lean-to shed's design should be tailored to your specific needs and the available space. This involves determining the overall dimensions (length, width, height), the roof pitch, and the inclusion of any additional features such as doors or windows. Simple sketches are beneficial, but detailed plans (preferably created using CAD software if accessible) are highly recommended for complex designs. These plans should include precise measurements for all components, including the foundation, walls, and roof.
Obtain necessary permits. Depending on your location, building permits may be required for structures exceeding certain dimensions. Confirming local building codes and acquiring the necessary permits before commencing construction avoids potential legal complications and ensures compliance with local regulations.
Phase 2: Foundation and Framing
This phase constitutes the structural foundation of the lean-to shed. Accurate construction is crucial for ensuring the overall stability and longevity of the structure.
Foundation Construction
A robust foundation is essential for preventing settlement and ensuring the stability of the structure. For a lean-to shed, a simple concrete slab or a gravel base is usually sufficient. For a concrete slab foundation, excavate the ground to the desired depth and width, ensuring a level base. Construct a formwork, then pour and level the concrete, allowing ample time for curing before proceeding.
Alternatively, a gravel base provides a simpler, cost-effective foundation. This involves excavating the area, laying down a layer of compacted gravel, and levelling it thoroughly. This method is particularly suitable for simpler shed designs or those in areas with well-drained soil.
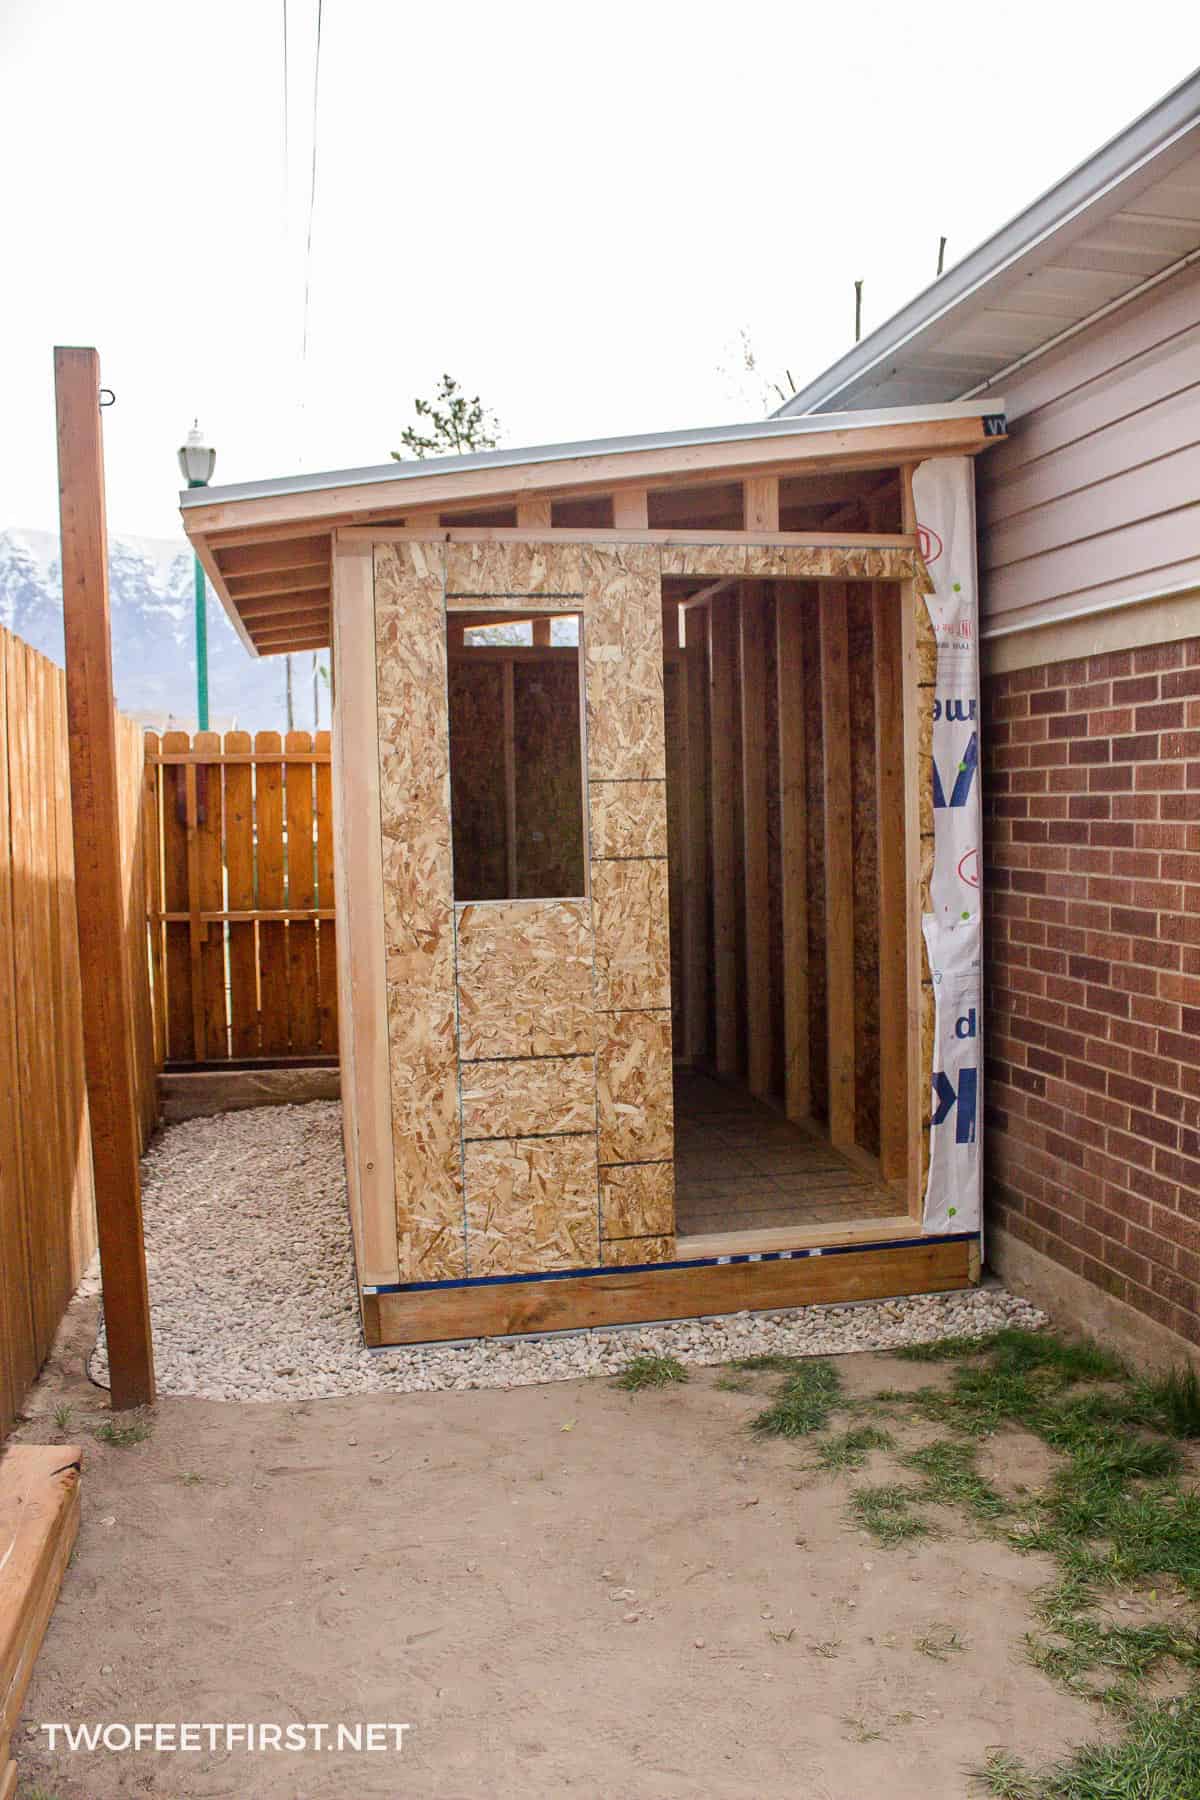
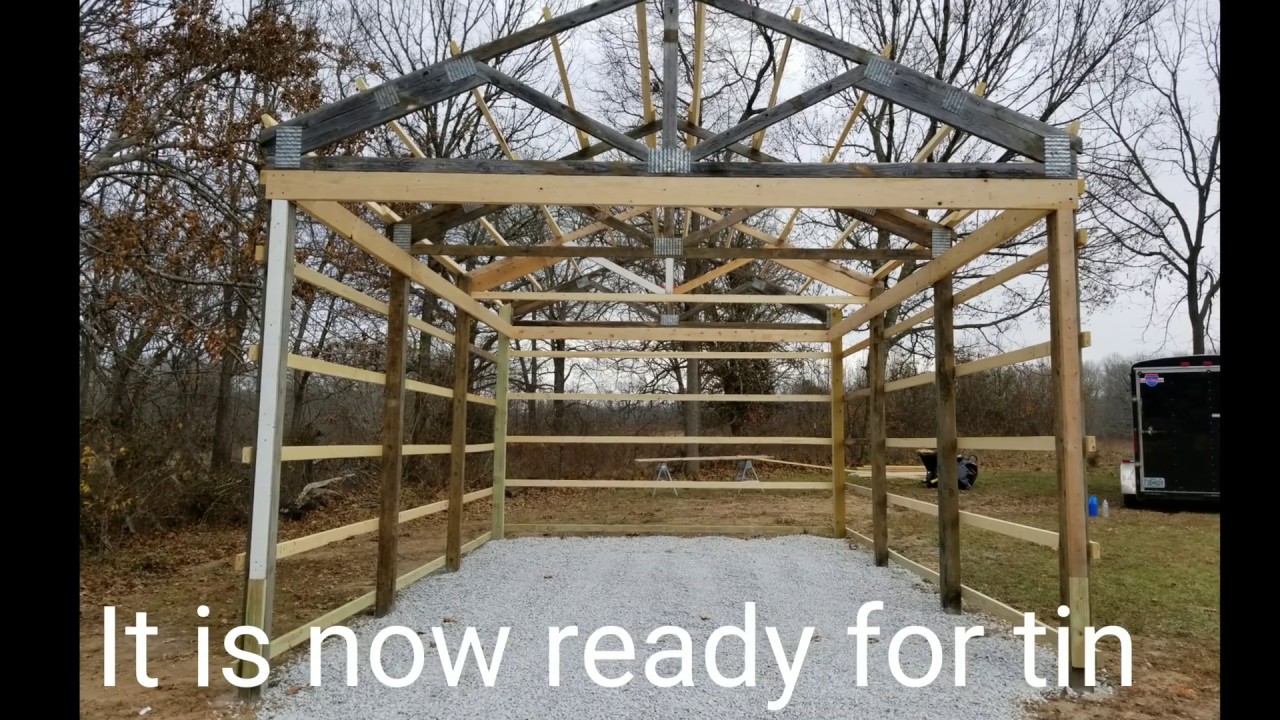
Framing the Walls and Roof
The wall framing involves constructing a rectangular frame using pressure-treated lumber. The dimensions should precisely match those outlined in the design plans. Ensure the frame is square and plumb using a level and a square. Securely fasten the framing members using appropriate fasteners (nails or screws).
The roof framing consists of rafters, which should be cut to the specified lengths and angles as per the design plans. The rafters should be evenly spaced and securely attached to the wall frame and the supporting structure (e.g., an existing building or fence). Ensure the roof pitch provides adequate drainage to prevent water accumulation.
Phase 3: Sheathing, Roofing and Finishing
This stage focuses on completing the exterior of the shed, ensuring weather resistance and aesthetic appeal.
Sheathing the Walls and Roof
After completing the framing, apply sheathing to the walls and roof. This provides a solid surface for the exterior cladding and helps to improve the structural integrity of the shed. Use appropriate sheathing material (e.g., plywood, OSB) and ensure it is securely fastened to the framing.
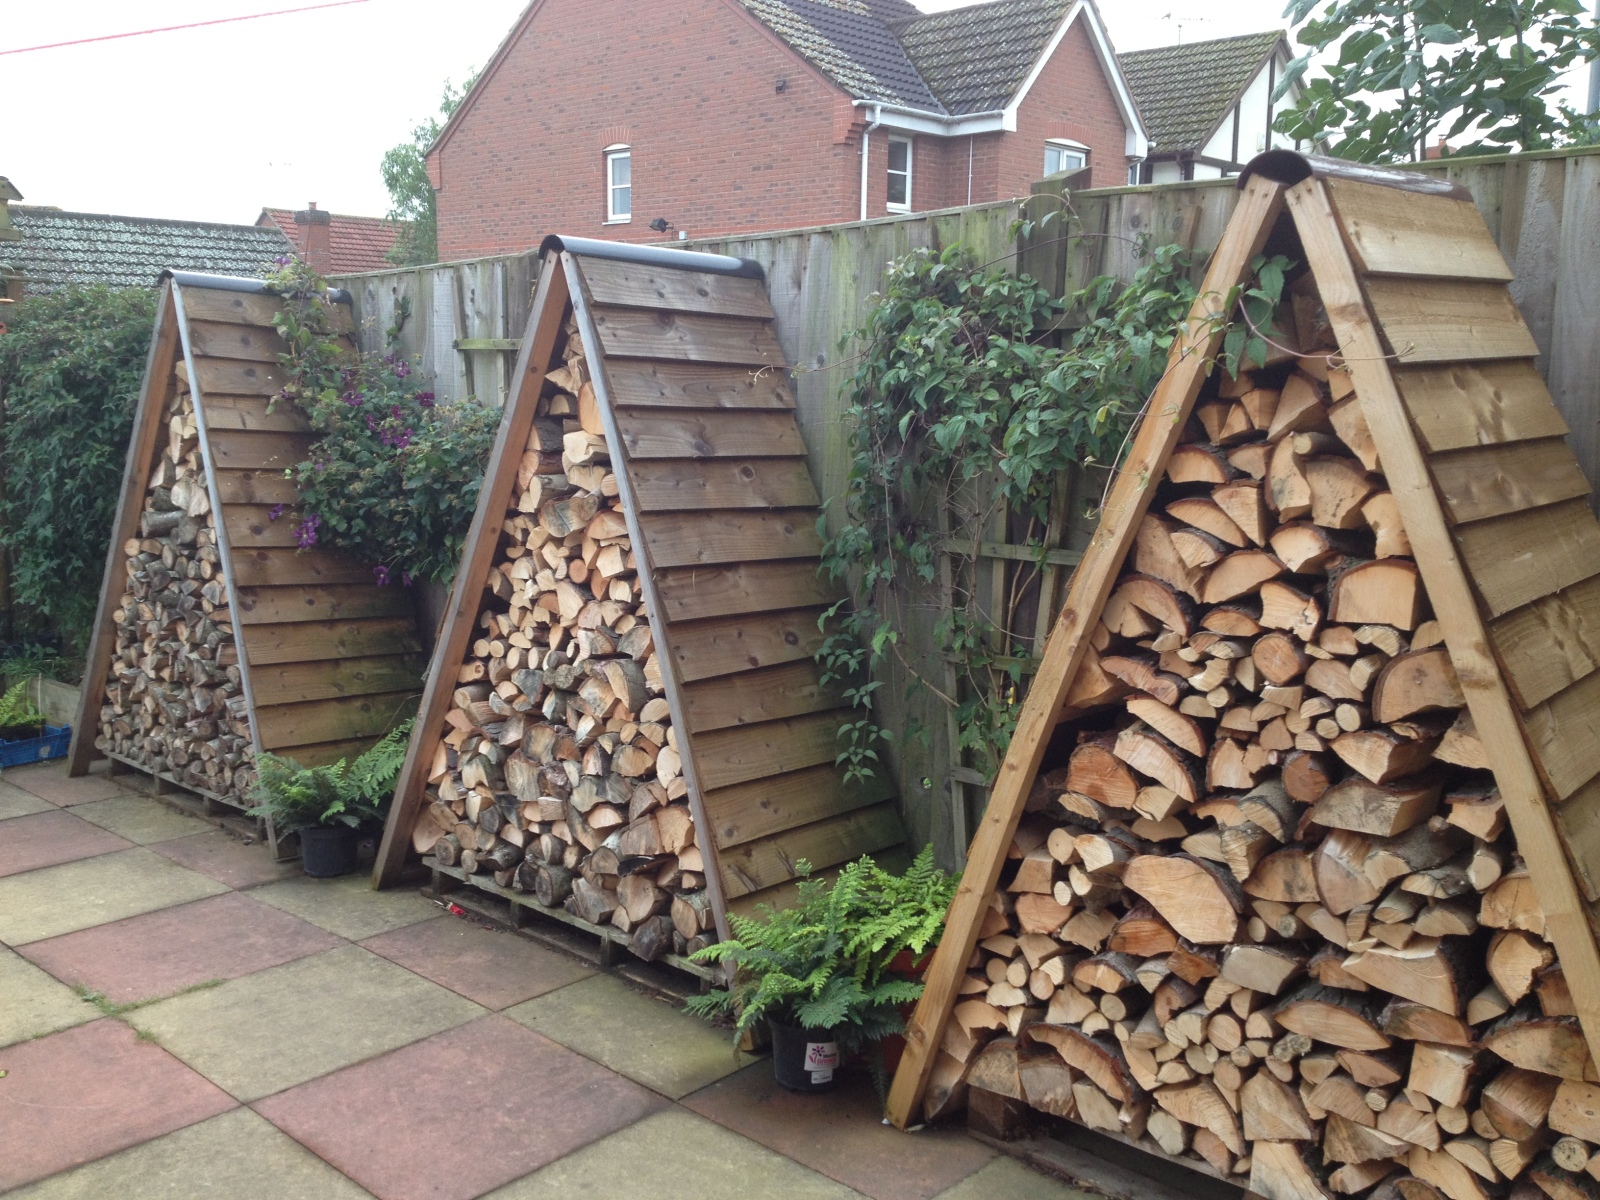
Roofing Installation
The roofing material should be selected based on factors such as budget, durability, and aesthetic preferences. Common roofing materials include asphalt shingles, metal sheeting, and polycarbonate panels. Follow the manufacturer's instructions carefully for proper installation. Ensure proper overlap and sealing to prevent leaks.
Install necessary flashing around chimneys, vents, and other protrusions to prevent water penetration. This crucial detail significantly contributes to the shed's weather resistance.
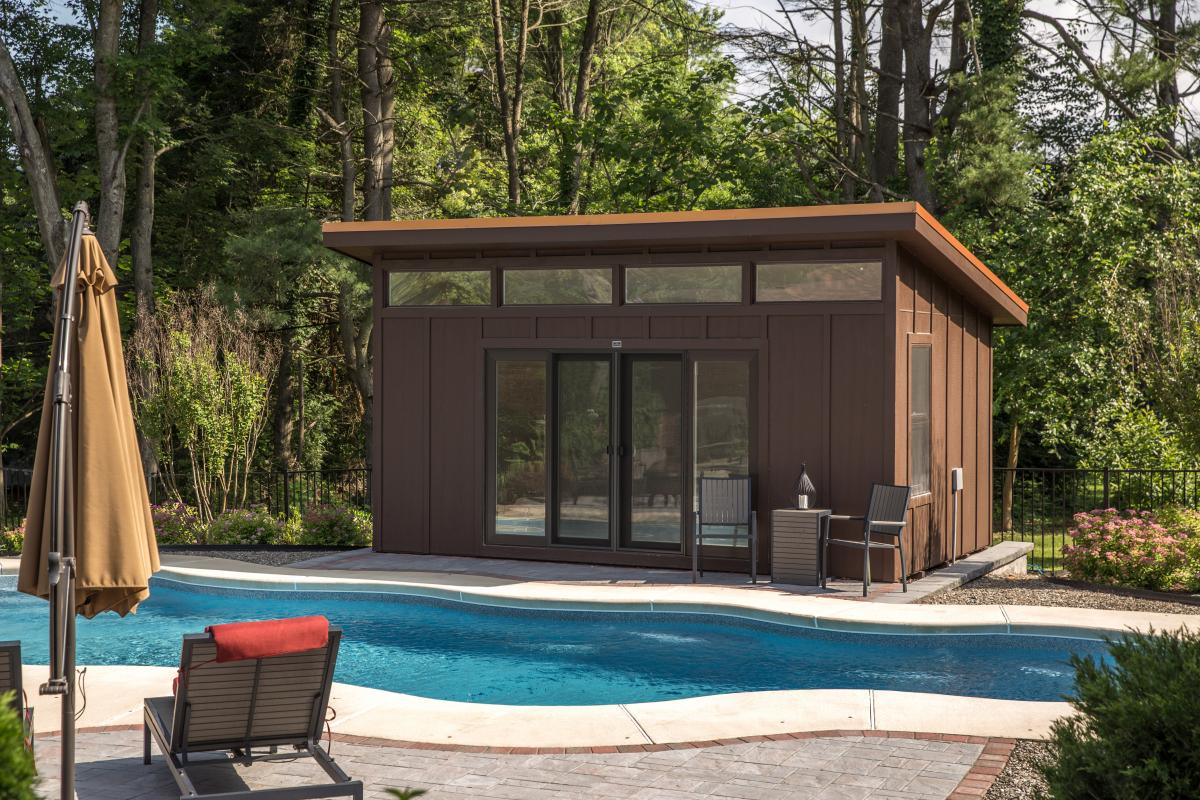
Exterior Cladding and Finishing
Apply exterior cladding to the walls, if desired. This could involve siding, shiplap, or other suitable materials. Ensure the cladding is properly installed and sealed to prevent water damage. Finish the exterior by applying a protective sealant or paint to further enhance durability and weather resistance.
Door and Window Installation (If Applicable)
If your design includes doors or windows, install these after the sheathing and roofing are complete. Ensure that they are properly framed and sealed to prevent drafts and water leakage. Use appropriate hinges and hardware for a secure and functional fit.
Phase 4: Interior Finishing and Final Checks
The final phase focuses on the interior and ensuring the overall functionality and safety of the lean-to shed.
Interior Finishing
Depending on the intended use of the shed, you may opt for interior finishing such as wall paneling, paint, or insulation. Insulation can enhance the shed's energy efficiency, particularly if it's to be used as a workshop or storage for temperature-sensitive items. Consider incorporating shelving or other storage solutions to maximize space utilization.
Final Inspection and Safety Checks
Conduct a thorough inspection of the completed lean-to shed, checking for any loose fasteners, structural deficiencies, or potential safety hazards. Ensure all electrical wiring (if applicable) is properly installed and grounded, complying with all relevant safety regulations. Address any identified issues before declaring the project complete.
Disclaimer: This guide provides general instructions. Always consult with qualified professionals for complex designs or if you lack experience in construction. Adhering to local building codes and safety regulations is paramount throughout the entire process.